Showing posts sorted by relevance for query project maternity. Sort by date Show all posts

Thursday, March 03, 2011

Project Maternity - honourary mention - DIY Maternity


Some of you may have noticed this button appear on the right hand side of the blog


Some of you may not have noticed, some of you may not care!

As I mentioned to my facebook peeps easier in the week the Project Maternity Bandwagon is moving QUICKLY!! after desperately begging, the lovely Megan from DIY Maternity has donated a copy of her maternity wrap top to the cause!! Here is why I thought it was so necessary:

isn't it JUST PERFECT? I could wear this to work, I could wear it to the shops, it's just so wearable, it's going to be the ultimate in comfort and a really truly 'fitting' maternity top as you wrap it around your bump!

the only downside? this baby EATS fabric... oh well... I suffer for my art and all that...

DIY Maternity has a bunch of other tips, tricks and tutorials I'll probably be using along the way, such as how to sew a belly band (I've heard those things are lifesavers), as well as some pretty good upcyling ideas... and y'all know how much I love to upcycle

Friday, March 11, 2011

I just blogged for the NHS people!!

Cross posted at the NHS talk Blog
--------------------------------------------------------------------------------------------------------------

Hello Everyone!!
I'm Samantha, I'm a 23 year old secondray school teacher. My superhero alter ego is a geek culture and craft blogger at Geeky Sweetheart. I've also started a baby specific blog at Teensy Geek. I'm in the process of making my own maternity wardrobe (I'm calling it Project Maternity as an homage to one of my favourite TV programmes). I love karaoke and 80's Metal music.
Last week I had my 20 week scan which was a really great experience! It was much less scary then my 12 week scan. Here's both the pictures and I'll talk about how they were different afterwards:


12 Weeks:


20 Weeks:
20 week scan


Before my 12 week scan I was PETRIFIED! I was so stressed out about it all, I was grumpy and irritable at school, I was constantly exhausted having to go to bed sometimes as early as 7/8pm (which is absolutely unheard of for me) I didnt have morning sickness, but I completely lost my appetite and found to really difficult to eat a full meal. For one reason or another I hadn't been to see a midwife at all until after my 12 week scan so the scan was the first time I saw a health professional about my pregnancy.

The 20 week scan was a completely different deal... I've still only got a little bump, but my bump had started to develop just before my 20 week scan. I'd also been feeling movements since around 16 weeks and kicks at around 19 weeks. My baby is very active, it's so reassuring! I was sitting in the waiting room for my 20 week scan wondering why I was so relaxed compared to my 12 week scan and that's essentially what it comes down to, I can feel my baby (I can him/her Squiggle) punching, kicking and doing sumersualts Big Smile which I couldn't before because s/he was so tiny.

I didnt find out the gender at the 20 week scan. I think there's a lot to be said for surprises. I also would begrudge being forced to spend my life surrounded by exclusively pink or blue things before my Squig has even surfaced.

I've just finished my own home-made maternity top, but unfortunately I wore it to work today and when I came home I got cottage cheese all down the front of it! So I guess I'll be back in the next couple of days with informaton about clothes and my bump!

See you then!

Thursday, February 24, 2011

Project Maternity has BEGUN!

Basically in the last couple of days I've decided enough is enough! I've been avoiding sewing clothes for the past 3 months because of my pregnancy. I've been treating maternity wear as this sort-of mystical magical thing and it's not! Just like sewing any garments it's about research, planning and thinking through the problems logically.

SO.... I'm making my own spring/summer wardrobe... I don't know yet how many garments this wardrobe will consist but I'm going for it... and I shall call it:

STAGE ONE! RESEARCH!!
I'm not looking at the bump-alteration business at the moment, I'm looking for patterns/styles that will (or can with slight modification) accommodate some belly... so that's things made out of jersey/stretch materials, wrap arounds, empire lines.
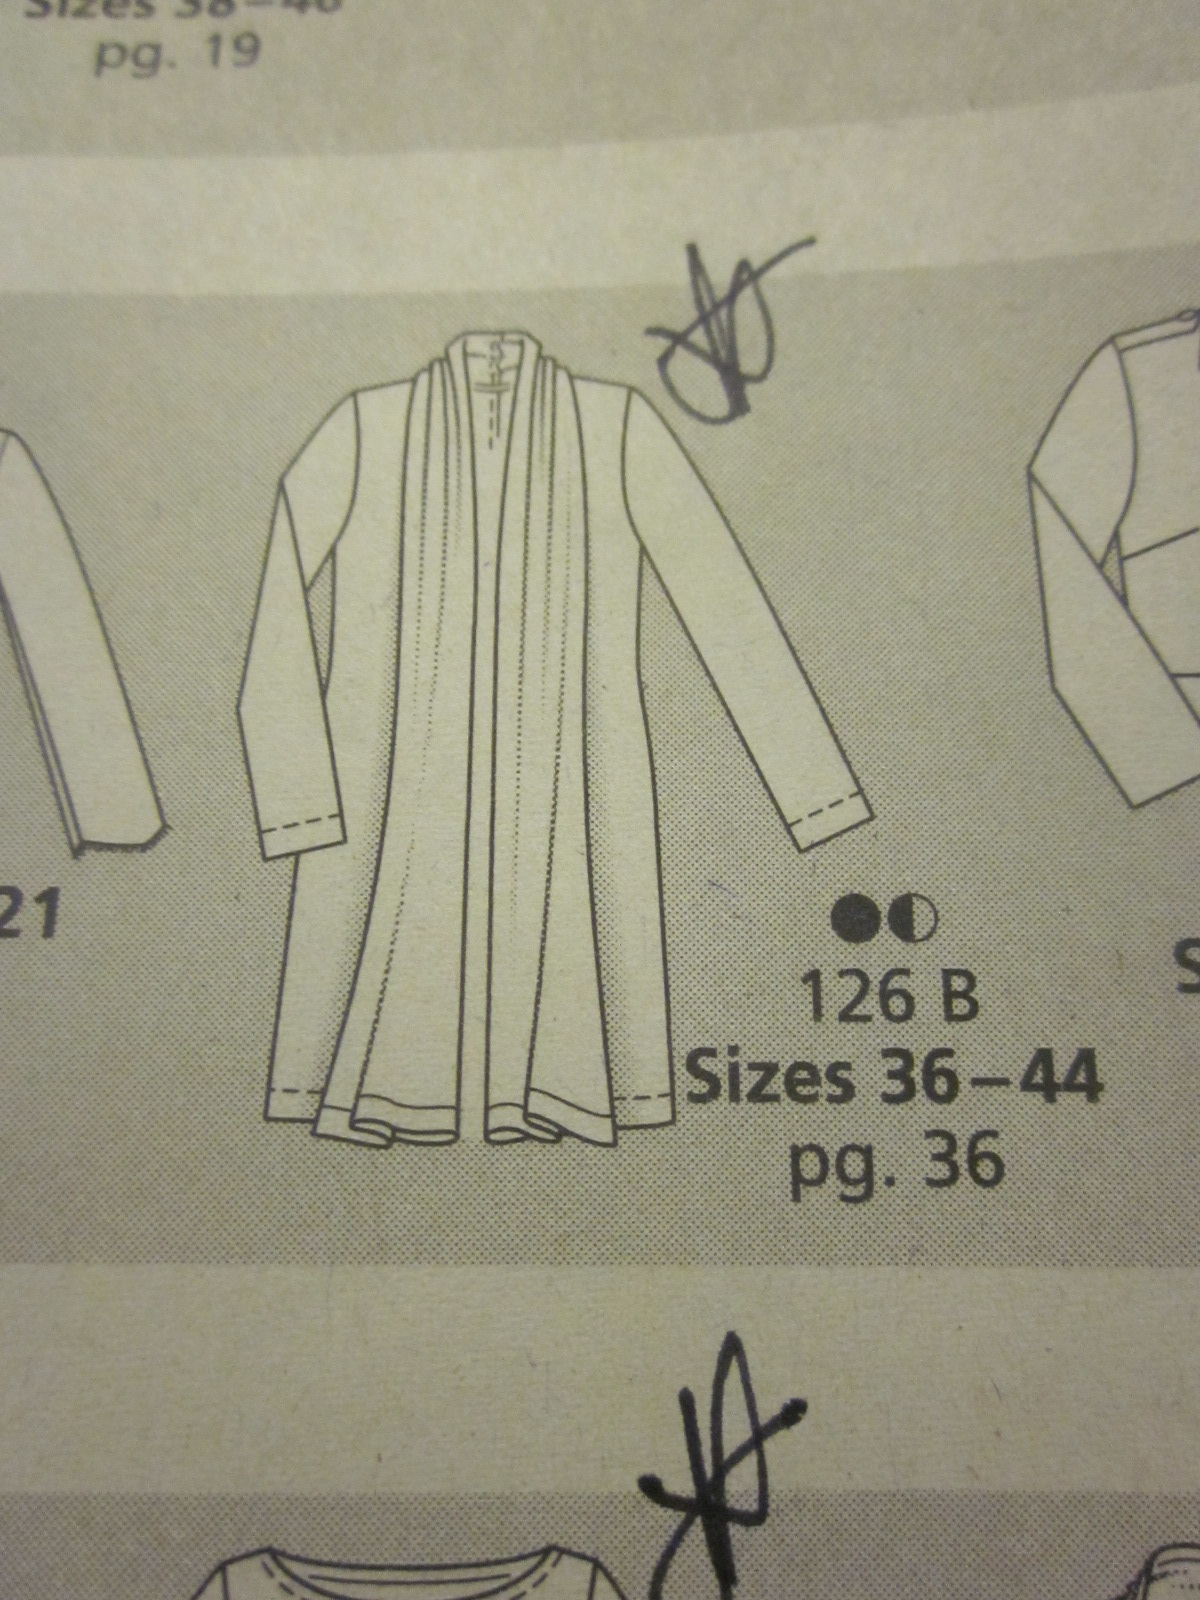
so first... from Burda Styles January issue.


 and from burdastyle's March issue:


 This Kaftan dress is particularly Maternalicious, check it out:

now... haahah I'm not EVER going to wear ANYTHING white... but look at that waist! ... tie back... expands until forever... this is the key to maternity sewing I think :-)


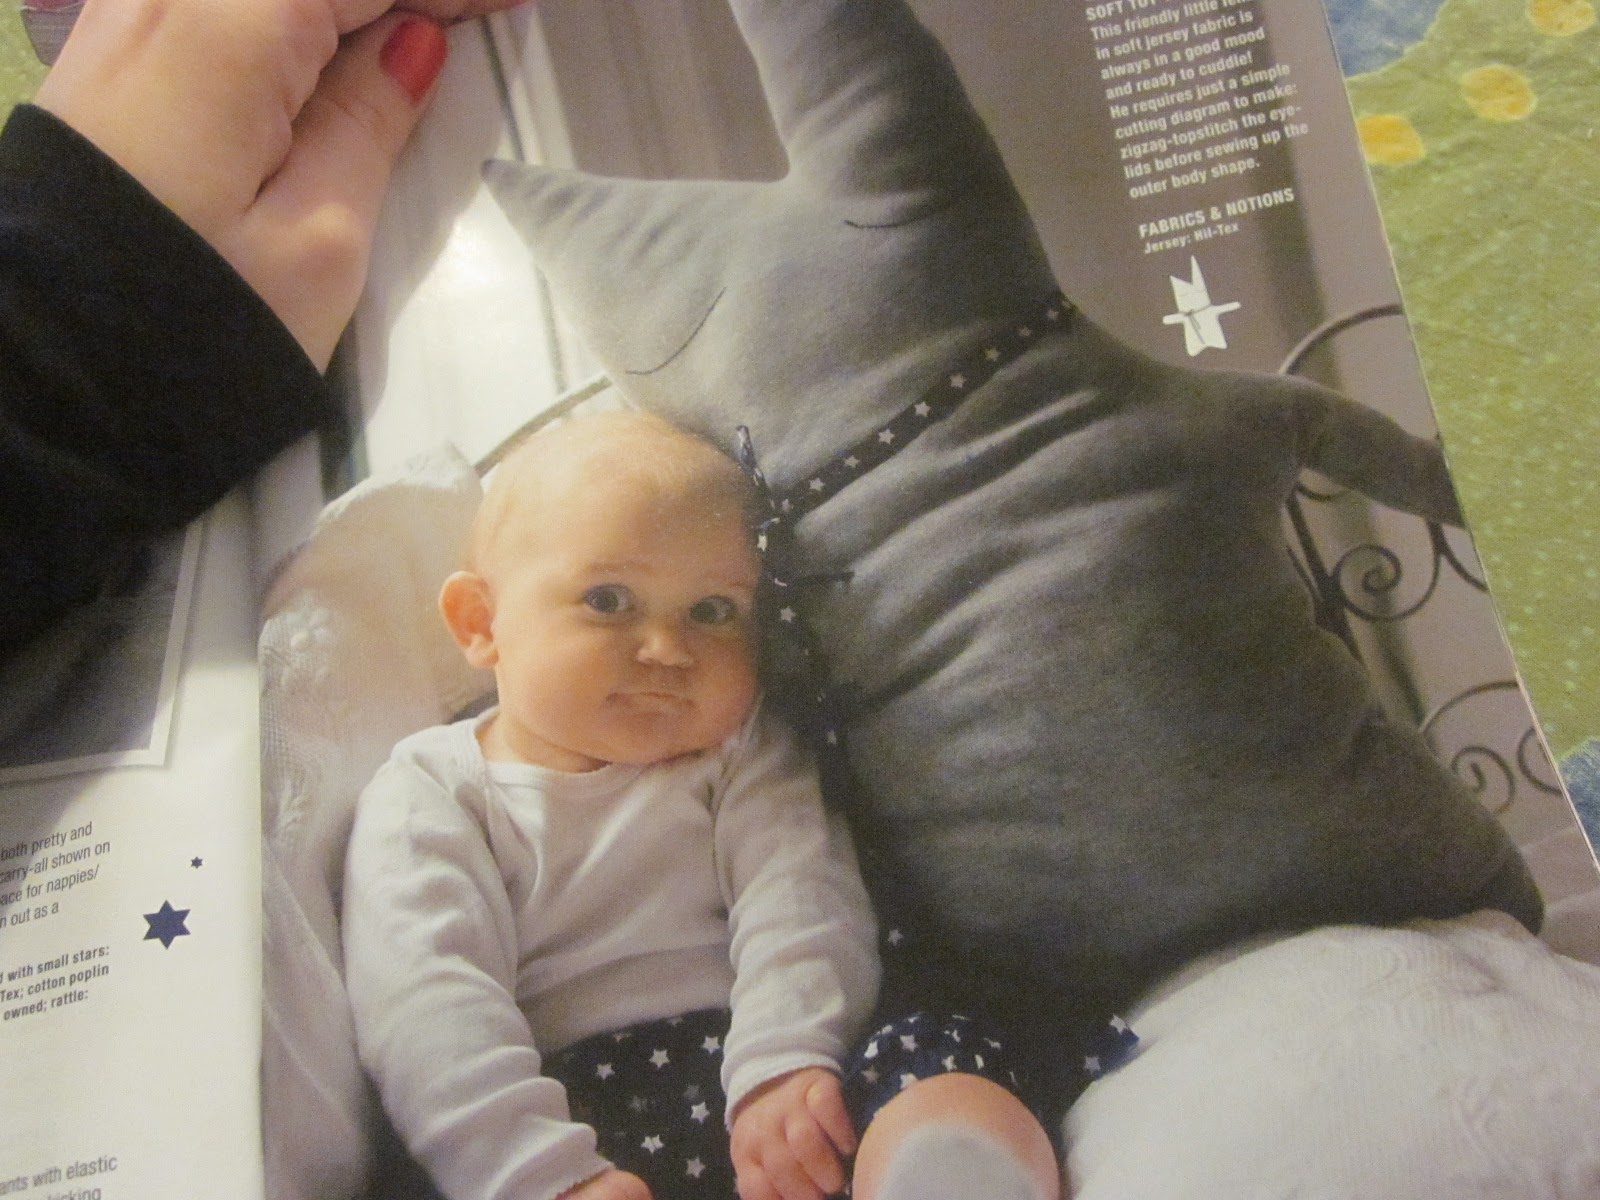
 In this issue they've even got things to make for babies, how perfect!


The next stage is... err editing! I seem to have found LOADS of patterns that will either work more-or-less how they are or with some alternation, I need to decide what garments are going to make it to the final line-up... how many garments I need... and then look at the fabrics out there and decide a colour scheme....

Am I brave or mad?

Wednesday, March 02, 2011

Project Maternity - lesson 1 - Don't trust the internet [fabric]


FABRIC HAS ARRIVED!!! woooooooooohooo!!!.... well... kinda

ok... those are 2 different greens... *facepalm*... actually it's COMPLETELY my fault! I'm blaming the internet but the internet only does what it's told... let's review.
actual fabric:


fabric as advertised on website:

now... they do look like similar colours on the photos... but any old fool knows that cameras alter the quality of colours, as do computer monitors... but what I can't forgive myself for is the stripe-disparity! and there's NO excuse for that! one picture has a tape measure next to it so I can SEE that the stripes are tiny tiny, not as big as they clearly are against the dressform...

pssht.. you live you learn, I'll still use it :-) but I'm going to have to do it the old fashioned way and take a sample of the bright green stripes to a fabric shop somewhere and find a matching jersey.. I need stretch for these waistbands!!!

nevermind... lets gaze lovingly at this beauty!!
mmmmmmmmmmmm :-) this pattern, with these colours,  makes me SO happy... this fabric is going to very much enjoy being 'quirky maternity skirt' Micheal Miller I want your fabric babies!

Sunday, March 06, 2011

Project Maternity - full tummy adjustment (dress)

First thing's first. I did not invent this technique. This is a version of the tutorial I found at Rostitchery which I'd seen successfully used on Polka Dot Overload. What I've learned in the last 3 months is that there's an absolute black hole when it comes to maternity alterations, so this is me doing my bit, linking to and walking through my full tummy adjustment (FTA)

This is the pattern I'm using:
It's from Burda Style Magazine's January 2011 issue. A Simple Jersey shirt-dress. I'm only modifying the front piece which looks like this:
as you can see above I've seperated the pattern piece into 3 sections, so I can follow Rowena's instructions...

You can also see in the picture above, I've extended the original centre front line by 3.5 inches.

The next step is to cut out the bottom left section:
see? I'm going to move it to the side by 3.5 inches too, but you want the side seam to run nice and smooth. you could do this by redrawing the line instead of cutting it, but to be honest, it's much easier ad more precise to just cut the thing up:
So all you have to do is pivot the cut piece so that the side seam runs smooth with the rest of the pattern, then you need to draw in your new bottom hem line, a nice smooth curve. This  curve is what's going to stop your skirt from getting a bit err... short as your bump grows. as Rowena points out:
"NOTE:  the hemline has to come out from the center front being completely horizontal or you'll end up with a pointy front.  once you get the horizontal established, you just make a curve that is pleasing to the eye"
 then tape the sucker down, add your seam and hem allowances and your done!... well.... you're done with the pattern alteration... you've still got to sew the thing.....
Easy huh?? like stupidly easy.... anyhow... lets see how it works in practice....

I also modified a skirt pattern, which was slightly different, that one was my idea so I hope it works! Tell you about it tomorrow!

Wednesday, April 13, 2011

PM: Jersey Dress COMPLETED


I've been quiet on the Project Maternity front for too long, in the words of Blink 182: "Work Sucks, I know"

What doesn't suck is this dress:
I'm not that keen on the colour, the green is a lot duller than I'd first intended. The pattern I butchered was from Burda Style magazine, it's not been published on this website yet, when it is I'll post a link.

As you can see I completely changed the pattern around, I got rid of that collar because I don't have time to learn how to do collars... I'm GROWING!! I also modified the sleeves, to make them the more summer-friendly tent sleeve shape.

How I did it:
  • I traced the pattern pieces from the Burda Style Pattern Sheet.
  • I used this great technique on burdastyle on how to create a Tent Sleeve (thankyou BurdaStyle member sunnie for contributing this technique)
  • I modified the front pattern piece by performing a full tummy adjustment, with the effect of lengthening the front hem
  • I cut the fabric, but as I said I was omitting the collar so I just cut the front piece on the fold and rounded off the neckline at this stage.
  • I redrew the neckline on the fabric and after checking it was symmetrical and giving myself a seam allowance for the ruffle, I cut the new neckline.
  • I drafted my pattern for my ruffle. Ruffles can be made lots of different ways A separate tutorial for how I did this collar ruffle is coming soon!
  • I serged the edges of the sleeves and the ruffle using a 3 thread setting so that the weight of a hem wouldn't ruin the drape.
  • I constructed the garment with my serger, on a 4 thread setting, in this order:
    (1) attach front piece to back piece at shoulder seams
    (2) sew on sleeves.
    (3) sew sides together with seams that run from end of sleeve to bottom hem.
    (4) attach ruffle collar as you would a facing - right side of ruffle facing wrong side of dress - use regular sewing machine on zig-zag setting.
    (5) finish hem by turning over twice, pressing and zig-zag stitching.
In retrospect, I think this dress is probably still too big. I think the pattern I cut was too big in the first place, but actually that's completely welcome in the heatwave we're having in the UK, and my classroom is so hot too!! Not to mention the fact that I am growing! I love the sleeves, I think some kind of interfacing around the collar would be a good idea as it feels a bit shapeless. I think the hem should be shorter... but then what is the appropriate hem length for a pregnant lady?

I wish I was better at modelling... 

Monday, February 28, 2011

Project Maternity Monday


Here's my fabrics!

These 2 are Micheal Miller cotton:

I got 2 metres of each (expensive! but I managed to get them for around £7 p/m... which is a bargain since the going rate on e-bay is around £3.50 p/fat quarter)

And these 2 are stretch Jersey:


I got 4 metres of the red and 5 meters of the green...

Total cost of fabric: £73.64

Now I need to settle on patterns and get planning! exciting!