Today let's make one of these!!

(photo credit - Craftster User Azura)
What we have here is a fashion accessory with a secret! A cuff with a secret zip compartment for for keeping your money (for MONEY people!) safe when you're out moshing :-)
I'll walk you through drafting your own pattern to fit your own wrist or you can download my pattern (my wrist circumference is 6 inches)
(right click, save image as)
 |  |
To Draft your own Pattern
Sellotape a piece of paper to your wrist (if you're clever you'll use the wrist you DON'T write with... unlike me...)

Draw the desired cuff size

Cut it off (careful!) there you go!

This is your basic pattern with no seam allowance

So trace that and add a seam allowance:
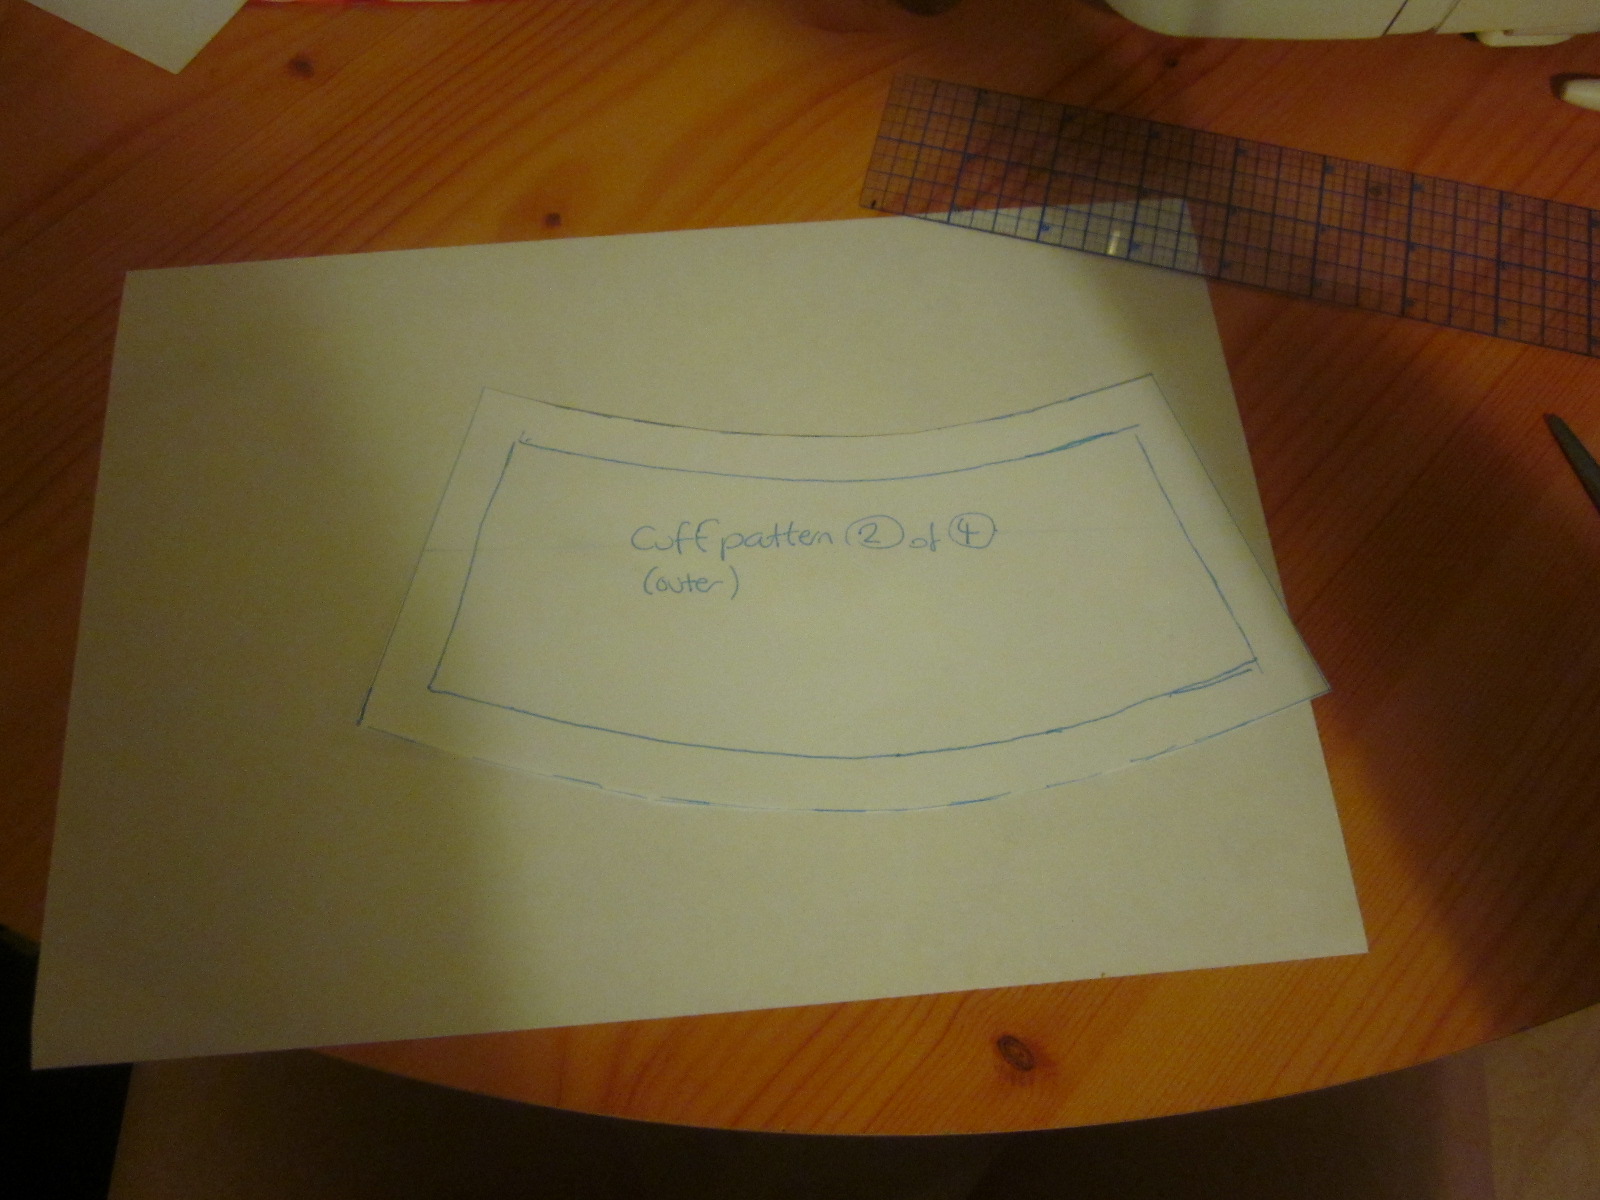
And trace that again, adding another seam allowance for the zip placement.

Ta-DAH!

Constructing the Cuff
I'm using faux leather, don't let PVC put you off... it's not terribly difficult to work with and I'm just using a regular sewing needle.

So first baste together where your zip is going to be placed, you're going to unpick these stitches later so keep your machine on a long stitch length and a looseish tension. (you shouldn't use pins with PVC because it's possible the holes will stay visible, it's not a problem for me here because the surface of the PVC I'm using is textured)

You need to press the seam open on the underside. If you are using PVC you need to keep your iron on a low heat and use a teatowel or pressing cloth between your iron and your work or you will melt that sucker to your iron... bad times...

This is what your zipper foot looks like, use it...

place your zip on the inside of your work like this and stitch it in place.

so it looks like this on the right side.

this is where you need to unpick your stitches, I used this little dongle....

Then you want to unzip your zip (very important!)

ok this is a nice wide piece of elastic, it's going to be the fastening. Since I made this for a swap, I wanted to make it a little adjustable so I put several button holes on this piece of elastic, I marked it out,

This is your button hole foot - use it!

it's nice and simple on my machine, these red stitches are my button hole stitches (read your instruction book for your particular machine)

see?

ok... place your buttons so they match up with your button holes...

like so...

Then you need to layer everything up for the final stitches... remember your ZIP should be UNDONE and both sides should have RIGHT SIDES FACING... then go ahead and sew all the pieces together around the outside...

Then trim all the seam allowances away and turn it right side out (through your open zip!).
et voila!


Enjoy your cuff!
as usual... You're free to use this pattern/tutorial for non-commercial purposes, just don't sell it or claim it as your own work... kthanx :-)
and PLEASE please PLEEEEAASSSEEE let me know if you make one for yourself :-) I'd love to see what you did :-)
this is brilliant! perfect for travel or bike tours or basically anytime carrying a handbag is not the option/need.Great tutorial!
ReplyDelete@Nidhi thankyou!! xGS
ReplyDelete