Friday, February 25, 2011

Embroidered Card Tutorial

So... yesterday I posted about my Husbot's valentines card. I created this by embroidering card... because I've forgotten how to use pens:
 This technique can be used to much better effect than displayed above :-) be imaginative, sew bits of paper together, indulge in a bit of paper applique, combine paper and fabric... but whatever you do the general technique is going to be the same:
What you can see in the above picture is my pattern (to the right) and my card (to the left) The trick with card embroidery is that you need to make the holes first.

1. Place your pattern on top of the card you're using and place the whole thing on top of a pricking mat (some people may have a pricking mat... I suggest using corrugated cardboard for a low-cost disposable alternative).
  • I used my ironing board which I don't suggest, because it can be hard work if you're hitting against metal mesh all the time. the idea is that you should be able to put a pin through your pattern and card (in other words - make holes) and have something behind it so you don't damage your dining table :-)
2.  Continue to prick (make holes in) your card, using your pattern as a guide. These holes will replace the holes you would make when embroidering normally, so you need to make a hole wherever your thread will change direction.  
  • Be Careful. You can buy 'pricking tools'... I didn't... I used a pin, which I pushed in with my fingers, which was a bad idea. I figured out later that it would be easier if I used a thimble, but my thimble doesn't fit. and that is the start of the series of unfortunate events that led to me bleeding on my card later on... bleeding on card is not good... there's not a lot you can do to fix it...
3. Once you've pricked all your holes, remove the pattern and embroider as normal!
  • Obviously you can't use an embroidery hoop with this thing so just be careful about how much you're bending/tugging on the card
  • Keep your pattern for reference, it's quite possible you'll forget where you're supposed to be stitching to as you've essentially got a massive, un-numbered dot-to-dot.
  • Use good embroidery thread! I used 2 strands of DMC. If you use cheap rubbish it WILL snap and it WILL get fluffy, card is more scratchy than fabric.
HAVE FUN!!

Thursday, February 24, 2011

Project Maternity has BEGUN!

Basically in the last couple of days I've decided enough is enough! I've been avoiding sewing clothes for the past 3 months because of my pregnancy. I've been treating maternity wear as this sort-of mystical magical thing and it's not! Just like sewing any garments it's about research, planning and thinking through the problems logically.

SO.... I'm making my own spring/summer wardrobe... I don't know yet how many garments this wardrobe will consist but I'm going for it... and I shall call it:

STAGE ONE! RESEARCH!!
I'm not looking at the bump-alteration business at the moment, I'm looking for patterns/styles that will (or can with slight modification) accommodate some belly... so that's things made out of jersey/stretch materials, wrap arounds, empire lines.
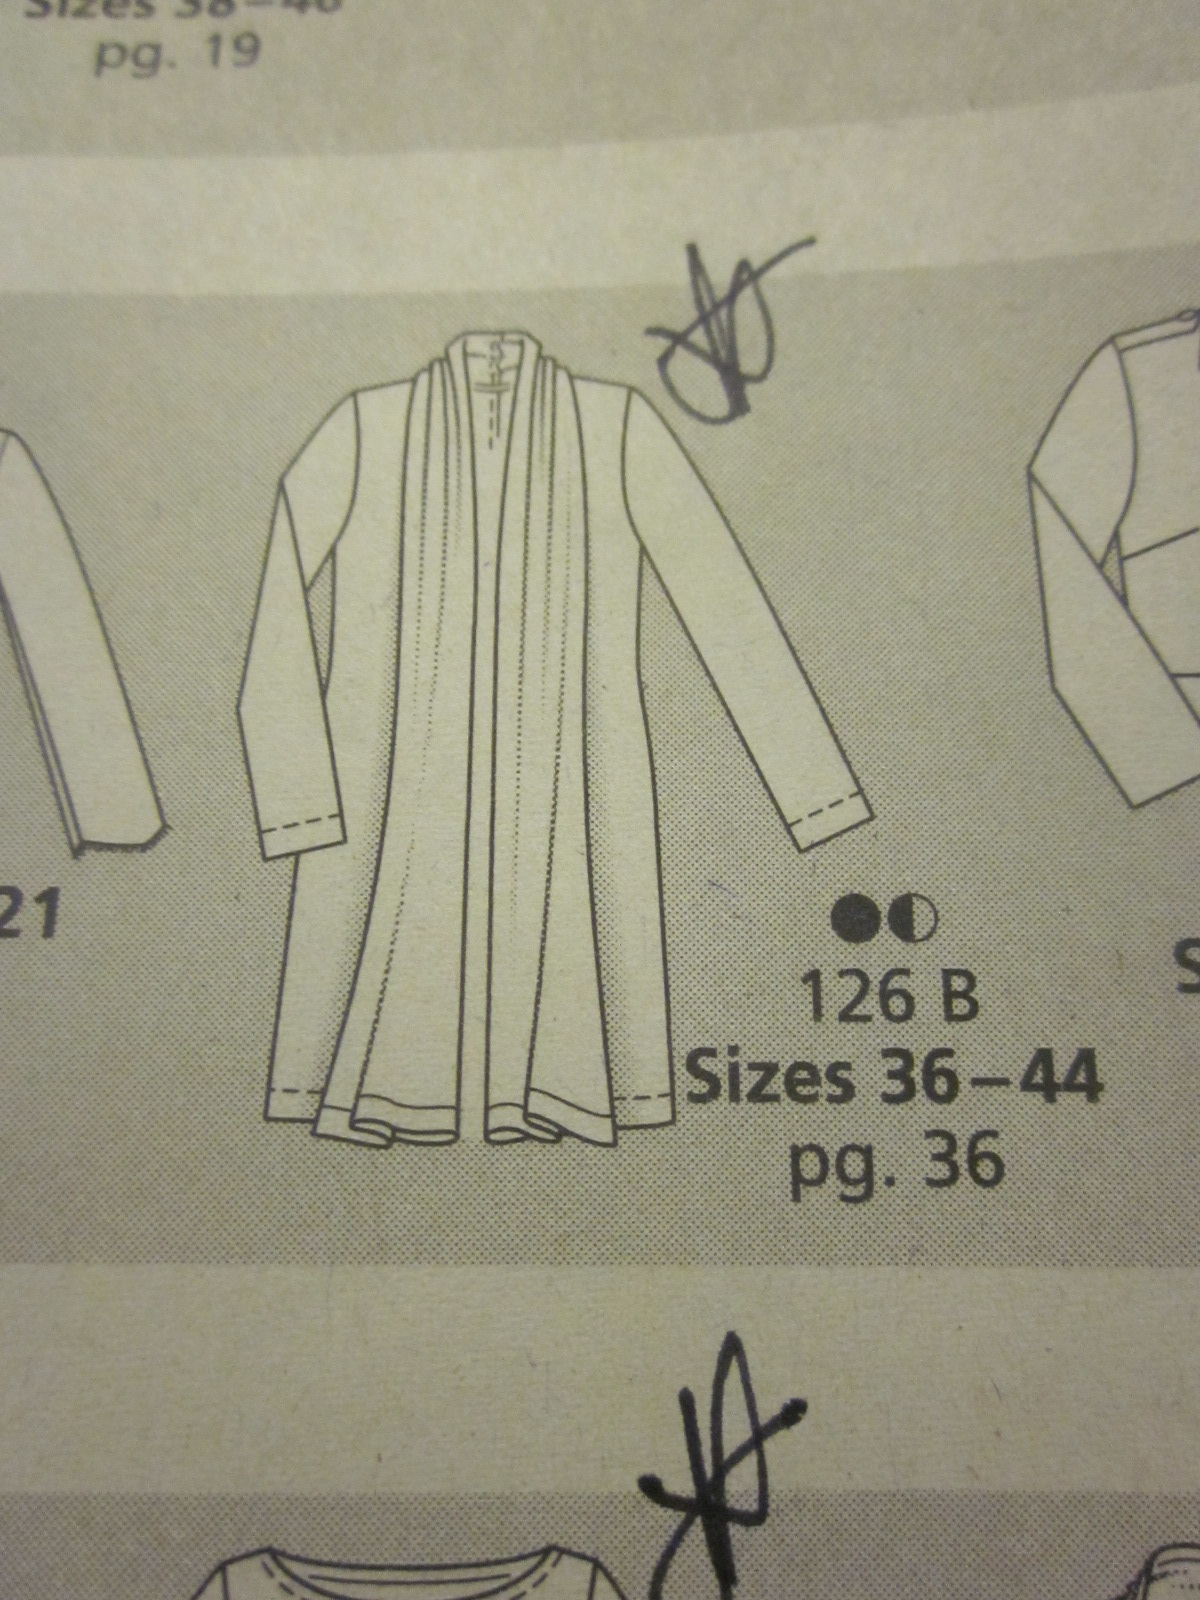
so first... from Burda Styles January issue.


 and from burdastyle's March issue:


 This Kaftan dress is particularly Maternalicious, check it out:

now... haahah I'm not EVER going to wear ANYTHING white... but look at that waist! ... tie back... expands until forever... this is the key to maternity sewing I think :-)


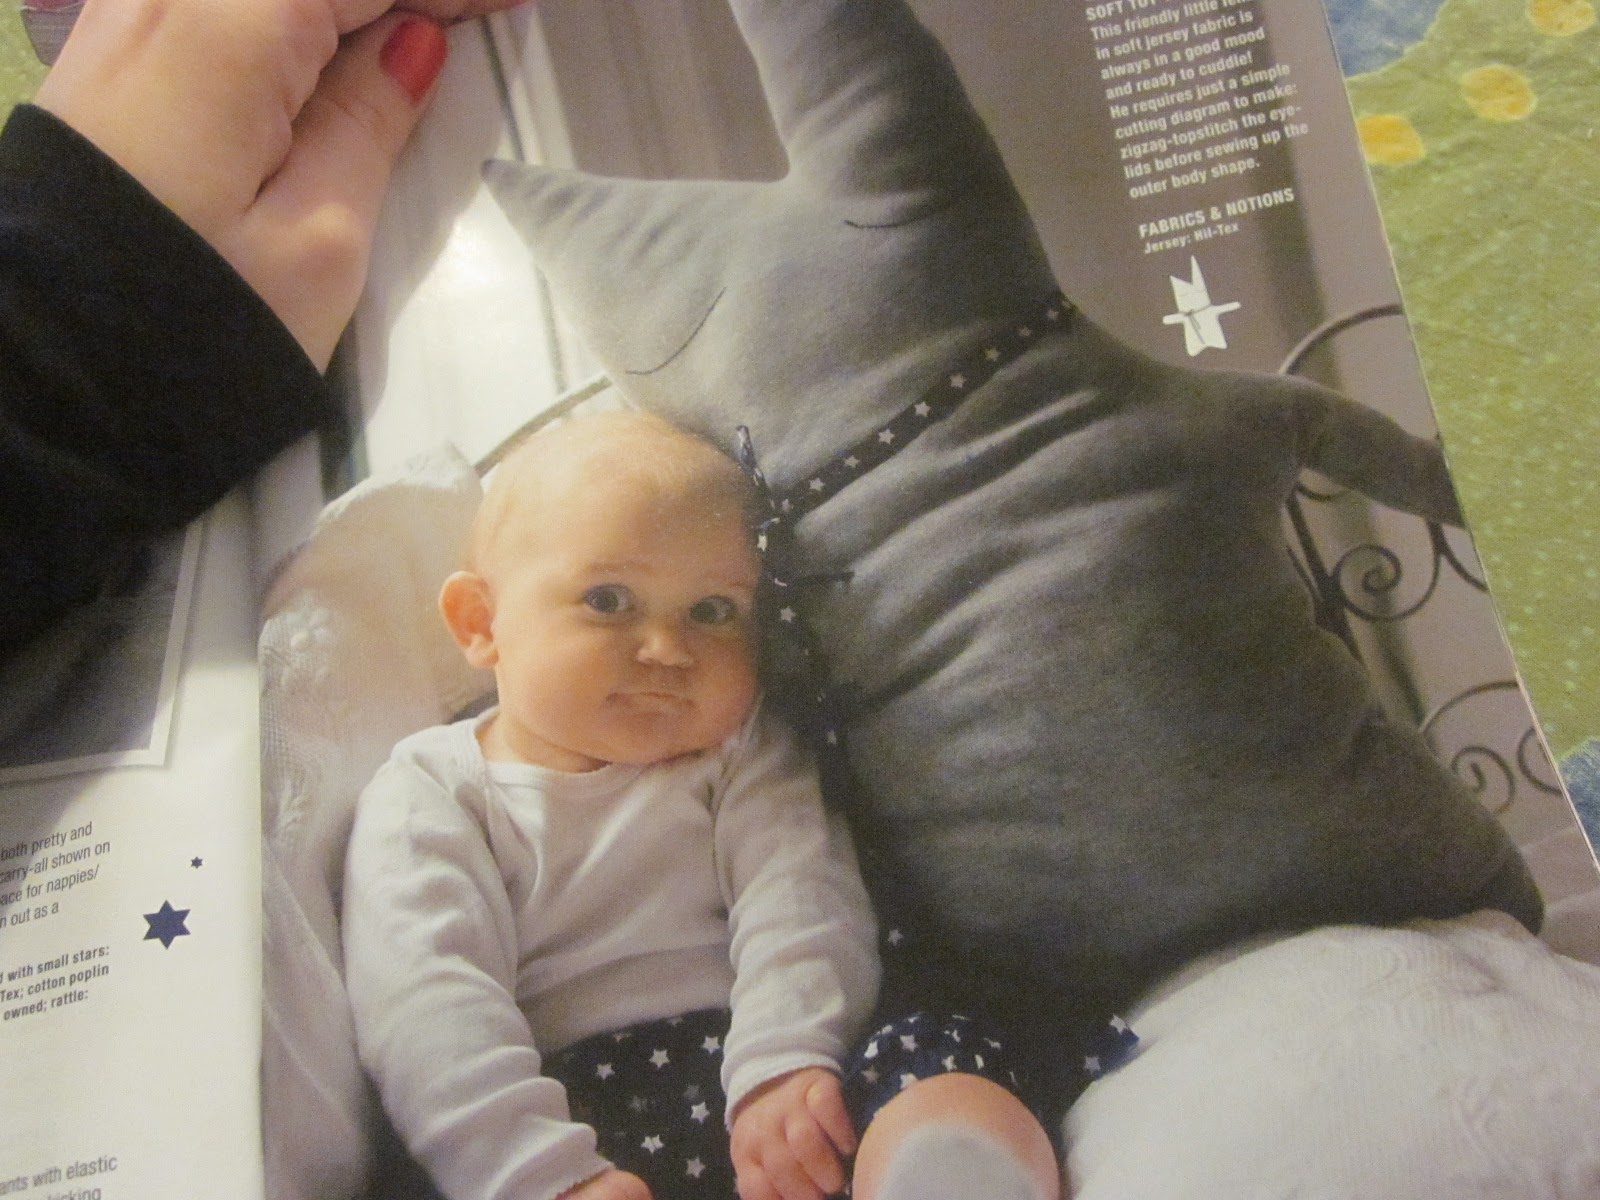
 In this issue they've even got things to make for babies, how perfect!


The next stage is... err editing! I seem to have found LOADS of patterns that will either work more-or-less how they are or with some alternation, I need to decide what garments are going to make it to the final line-up... how many garments I need... and then look at the fabrics out there and decide a colour scheme....

Am I brave or mad?

Wednesday, February 23, 2011

Dalek Valentines Card [also: the viral nature of craft and a cautionary tale]

oh yea, I haven't posted this here yet!
Ignore that red smudge next to the balloon... let it be a testament to my stance against airbrushing!! (feminism hell yea!)

This is the Husbot's valentines day card for this year, and apart from the red smudge I'm really pleased with how it turned out! it was really easy (but time consuming... will post a brief how-to later)


The image is not mine (but the colouring was my 'flourish' - I *HEART* red daleks) and that's where our story begins.The original concept was posted by KrazyKitty on the Craftster papercrafts board at the beginning of February.
note to crafters - this is why a good thumbnail image is REALLY important for your work - I don't go on the papercrafts beard because I don't DO papercrafts. I only picked up on this image because I'm logged into Craftster all the time and I saw it pop up on the front page in the 'newest projects' box.

But this is what blows my mind right - I don't know where KrazyKitty lives... I'm presuming somewhere in north America... here I am in the UK, and not only can I view her work SECONDS after it's been created, I can ask for her permission to use it, add my own twist to it and put it right back out there! There are ideas travelling across the world faster than the speed of light! It's AMAZING!! (ok I sound like a crazy hippy right now I know... )

Oh yea... the red smudge... make sure if you do embroidery on card you use the proper equipment! a good thimble that FITS and a pricking mat of some description (some old corrugated cardboard would work too... ) but anyhow I'll get into that later... for now look at my card!

 Doesn't really look like anything yet ... this is where I wasn't sure it was going to work :-)

My lovely (hand carved - hell yea) Tardis stamp I received form Opaka in Dr Who Swap round 4.... I don't have an ink pad so I had to use my purple highlighter... it worked *phew*


x G

Saturday, February 19, 2011

I even BUY things that look handmade

Isn't it sweet? ... yes I COULD have made it myself... but the point is Kate Garey thought of this idea first and buying *is* quicker than making :-)

Sunday, February 13, 2011

Star Wars Embroidery - finished!

here it is! rock you like a hurricane!

*bows*

I'm not 100% satisfied with the framing, I just wish I could keep me work in an embroidery frame forever! but in terms of frame jobs I've done so far this is probably the neatest. I have to work harder at getting my grain lines straight in the hoop in the first place, then hopefully it'll keep it's proportions when it's un-hooped (the border is not as straight as I'd like and the top lettering is slightly distorted :-/ )

Anyhow, enough of that, I'm very happy, here's the pattern again:
You're welcome to use it for non-profit/personal use, I'm not giving you the bumble bee because I drew that freehand. Only one thing, if you do use it LET ME KNOW!! I wanna see! Comment on here, e-mail geekysweetheart@gmail.com, post on my facebook page, PM me on craftster

Notes to embroiderers: the lettering was done completely in 2 strands of black embroidery floss with backstitch, the bumble bee is all 2 strands too, satin stitch, backstitch for the outlines and french knots for the antennae. The border is completely 3 stands of embroidery floss, the stalks are 'spoke stitch' (essentially backstitch), the leaves are lazy daisy, which is like a singular loose chain stitch. And the 'flowers' are french knots.

I completely have now made my peace with lettering and french knots, onwards and upwards!

x G

Wednesday, February 09, 2011

Work in Progress Wednesday - Star Wars Embroidery

So I've been working on this thing, it started out as a thought, wouldn't it be great to have a rustic embroidery piece like this:
but with a silly quote from star wars instead... so one afternoon I googled embroidery borders and found this:
(courtesy of tipnut) and with a lot of copying and pasting and use of text boxes on MS word I ended up with this:
which when transferred to fabric using disappearing pen looks like this:
and now looks like this:

I added a bumble bee... because bumble bees live in hives... even wretched ones....

That's actually green gingham... but in this light it looks yellow, stupid energy saving bulbs...

anyhoo... that's what I'm doing at the moment...

x G

Sunday, February 06, 2011

Looks like Sh*t, Tastes like Heaven Chocolate Cake.

 
Hi, I'm Samantha, AKA Geeky Sweetheart/The Geeky Seamstress. I blog about my sewing misadventures over at Geeky Sweetheart, preparing for mine and my husband's first child over at TeensyGeek, and the general crafty-geekiness that the bountiful interwebs provides every Tuesday on geekcrafts.com.

As you can see by the pictures above, I love food...  it's been more difficult for the last 16 weeks as I've been thrust into various states of nausea by my pregnancy, but this is one recipe that even a toilet bowl hugging pregnant woman will appreciate.

The name comes from when I made one of these cakes to take to work one Friday, and while I was off teaching one of my colleagues came came and sneaked a piece. She left me a note, it read
"Sorry Sam, I stole some cake. looks like shit, tastes like hevean, heaven."
The spelling error was even more funny at the time as I'm an RE teacher... but enough about me... lets talk about cake.

Looks like Sh*t Tastes Like Heaven Cake.

You will need:
a cake or loaf tin, greaseproof paper, butter for greasing the tin

160g good quality dark chocolate (60%+ cocoa solids)
160g butter
1tbsp instant coffe granules (or, if you're REALLY heavy metal, I used 1/2 shot espresso! BOOYAH)
68g Self raising flour
68g plain flour
1/4 tsp bicarb of soda
160g dark muscovado sugar
160g caster sugar
25g cocoa powder
3 medium eggs.

This recipe will take about 30 mins to prepare and then around 1hr 30 mins to bake... it's worth it.

I copped out and bought ready made frosting, to be honest, the amount of effort you put into this cake you won't want to be bothered making your own icing. You can buy it in tubs in the home baking isle of the supermarket and to be honest, it's great!

If you're thinking my measurements are a bit strange that's because I had to modify the quantities of the original recipe to fit in the loaf tin, this cake mix is quite sloppy, and if it rises over the top of your cake tin it will drip off the edges and burn all over the bottom of your oven. You will be well advised to put a baking tray in the bottom of the oven just in case... oven cleaning is no one's favourite activity.

(1) Preheat the oven to - fan 140c - conventional 160c and gas mark 3. Remember to put a baking tray in the bottom in case your cake mix rises over the tin.
(2) Butter and line your cake tin/loaf tin.
(3) Melt the chocolate and butter in a bain marie. Half fill a pan full of water and place a (heatproof!) dish on top, bring the water up to a boil then simmer, and while simmering stir the chocolate and butter in the bowl until it melts. Don't get water into the chocolate dumb ass! when it's melted add in the espresso or coffee granules dissolved in a tiny bit of water.
(4)  In another bowl, mix the 2 flours, bicarb of soda, sugars and cocoa. I would use a sieve to sift these dry ingredients. You might find the muscovado sugar doesn't sift too well... just do your best... it'll be right.
(5) beat your eggs, then add the egg and chocolate mixture into the dry ingredients (it's probably a good idea to turn off the chocolate-melting-pan a couple of minutes before you do this, just in case you accidentally cook the egg :-) ) Stir until you have a runny but smooth consistency (told you it was runny)
(6) whack it in the cake tin and chuck it in the oven. Bake for 1hr 25/1hr 30 mins. As always with cakes, if you stab it with a knife your knife should come out clean, the top should be firm, don't open the oven door if you can help it, but after the first hour or so it's probably a good idea to have a quick check to make sure it's not burning.

My cake sank like a battleship, don't worry, who the hell cares, even if it looks like sh*t it'll taste like hevean heaven. Leave it to cool then add some pre-made chocolate frosting. Eat within a week... it won't last that long.

 x G